Let’s continue on our canning journey with all the information on waterbath canning. This will let you know all the basics. Waterbath canning is a great easy way to get started in canning- watch below to learn more!
Click here for the first post all about the History and Science of Canning! There are also lots of resources on the post – like my favorite books and websites on canning, and links to all my sources.


Transcript
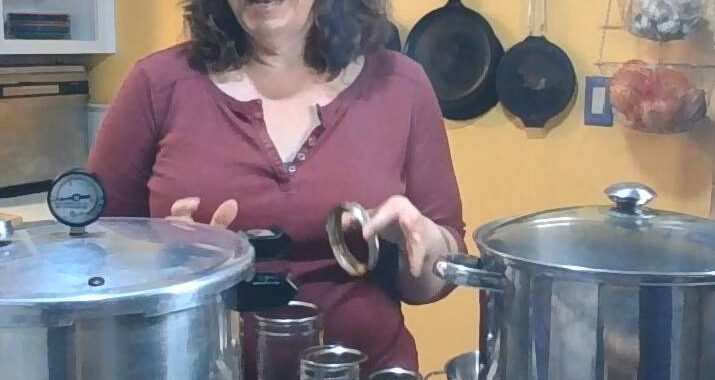
Hi! It’s me, Chrissy again! In my last video, I talked about the history and science of canning and used it to show how important it is to follow approved recipes. I also showed how the process of canning works. Today, let’s explore waterbath canning. This is usually advertised as a really safe and accessible way to get involved in canning – and it is! Let’s talk about the equipment needed, the process, and some of the delicious things you can can!
First though, let me introduce myself! I’m Chrissy Bernards, the owner of Moon and Hare Collective and Urban Farm here in Oregon. I am an urban agriculture and homesteading educator, a curriculum developer, and a community herbalist.
I grew up on a vegetable farm, where I learned how to can and preserve food, and eat seasonally, along with sewing and other DIY skills. I ran away from the farming lifestyle as soon as I could, but after several years, I felt the pull back to growing food and traditional homemaking. I now use permaculture and regenerative growing methods on my urban homestead, where I teach about urban agriculture, food preservation, cooking on a budget, seasonal living, and other homesteading skills as a medium to introduce people to food systems and sustainability issues.
I always love to know the science and history behind the techniques that we use to preserve food, so I understand the safety and reliability of the process. Then I know which rules are ok to bend or even to break!
Make sure you subscribe to my newsletter at the link in the description so you’ll get notified when I put out more videos with valuable homesteading and homemaking information!
Ok, let’s dig in and get started!
- There are lots of great reasons to waterbath can foods. Here are a few.
- Financial benefits: canning allows for bulk purchasing of seasonal produce at lower prices, reducing overall food costs.
- Health benefits: It provides control over ingredients, minimizing preservatives and additives found in commercially canned goods.
- Time benefits: By preparing large batches of meals in advance, canning saves time on daily cooking.
- Knowing ingredients in food: You know exactly what you’re putting in home canned foods, so you can adjust for preferences and allergies
- Reduces garden waste: It efficiently preserves surplus garden produce, minimizing food waste and ensuring year-round access to homegrown foods.
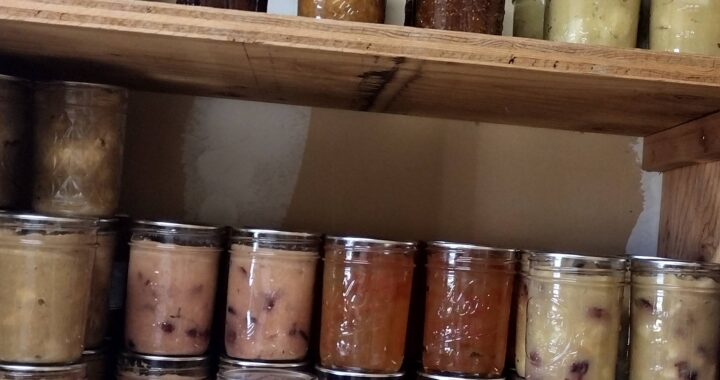
- Empowerment: It’s also super empowering to know that you put aside food for your family to eat through the whole year!
- Equipment
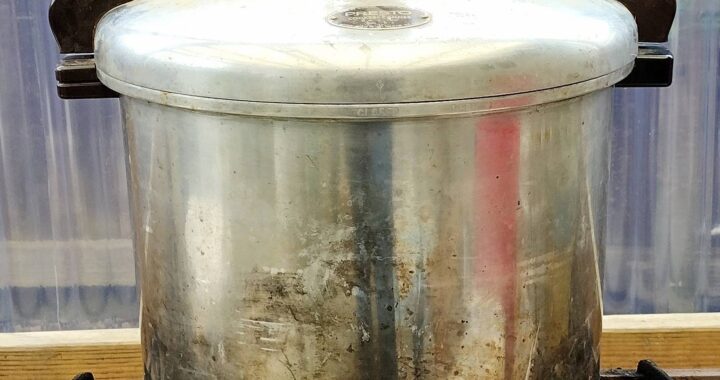
- Waterbath canner – for waterbath canning, you need a large pot. Yes, you can use any pot that will fit your jars. I have a couple large stock pots that I use. If you’re going to only use small jars or do small batches, you can get away with a very small pot. 3 jars will fit in an asparagus steaming pot, so that might be a good option for small batch preserving. If you don’t have a lot of space, you can use your pressure canner for a waterbath pot as well. The main issue is that your jars need to fit, plus 2 inches of water, plus a little extra for the boiling water to splash around.
- You will need a rack, however. Something needs to keep the jars from being in direct contact with the bottom, as that will make the jars break. If you purchase a waterbath canner, or a pressure canner, they should come with a rack that fits. If you purchase a stock pot, you can use a silicone trivet, a steaming rack, or you can zip tie some extra rings together. In a pinch, you could even use a double layered towel on the bottom of the pot.
- A funnel will be helpful, especially with brines, sauces, and jams and jellies.
- A jar lifter is also great – I have two. You could do without one, but you’d need to wait until the water completely cools down. If you have large batches of canning, you won’t want to wait between canner loads though.
- Obviously you will need jars, lids, and rings!
- What’s involved in waterbath canning – in order to can food, we must kill or deactivate the microorganisms and spores that may be present on the food. Microorganisms, like bacteria, yeasts, and molds, naturally occur on food surfaces due to contact with soil, water, air, and even handling. While many are harmless, some cause spoilage or illness if not properly controlled during food preservation. In canning, it’s important to deactivate and kill these microorganisms to ensure the safety and longevity of the preserved food.
There are three parts to waterbath canning- Heat is important in waterbath canning because it effectively kills or deactivates those harmful microorganisms. The boiling water (212°F or 100°C) ensures that high-acid foods, like fruits and pickles, reach the necessary temperature to deactivate these organisms. The heat also helps create a vacuum seal by driving air out of the jars, which prevents contamination and spoilage during storage. Without proper heat, the food would not be safely preserved for long-term storage.
- Acid is key in waterbath canning because it helps prevent harmful bacteria, like botulism, from growing. Many fruits are naturally acidic and pickles are made that way with vinegar. The acid levels work with the boiling water to keep everything safe and shelf-stable. Without enough acid, the canning process wouldn’t be enough to fully protect the food from spoiling.
- Sugar plays a big role in waterbath canning, especially when preserving jams, jellies, and fruits. It helps the fruit hold its shape, texture, and flavor, while also acting as a natural preservative. Sugar draws water out of the food, which makes it harder for bacteria and mold to grow. While some recipes can reduce sugar, you still need the right balance to keep everything safe and tasty.
- Some fruits may naturally have enough acid to can without sugar- HOWEVER – at least a low sugar syrup is necessary to maintain the flavor. Without it, the flavor just dissipates into the canning liquid.
- Why high acid foods
- The pH scale measures how acidic or basic a substance is, ranging from 0 (very acidic) to 14 (very basic), with 7 being neutral. I know that number scale seems really confusing!. High-acid foods, which are safe for waterbath canning, typically have a pH of 4.6 or lower. These include most fruits, pickles, and tomatoes with added acid. Low-acid foods, with a pH above 4.6, like vegetables and meats, require pressure canning to safely preserve them. The natural acidity in high-acid foods, along with the heat from the waterbath process, helps to prevent the growth of harmful bacteria, making it a safe method for these types of foods.
- Which foods are naturally high acid?
- Apples
- Berries (strawberries, raspberries, blackberries, blueberries)
- Cherries
- Citrus fruits (oranges, lemons, limes, grapefruit)
- Peaches
- Pears
- Pineapples
- Plums
- Apricots
- Cranberries
- Rhubarb
- Which foods are safely waterbath canned with additional acid?
- Tomatoes
- Salsa (made with added acid)
- Tomato sauce
- Ketchup
- Pickles (cucumbers, beets, green beans, etc.)
- Relishes
- Chutneys
- Pickled vegetables (carrots, peppers, onions, etc.)
- Tomato-based pasta sauces
- Process
- Selection and Preparation – Remember that in many cases you’ll be cooking the food prior to canning, and canning is basically cooking it again. So choose the freshest and best produce that you’re able to so that it maintains its color and flavor. Prepare your food according to the recipe that you’re following.
- Prepare the canning equipment – Put the rack in the bottom. Fill your canner with water that will reach 2 inches above the jars once they’re placed in the canner.
- Fill the jars – use the funnel to cleanly fill the jars. Wipe the rims down and put the lid and ring on. Make sure the jars are warm before placing them in the canner. If you’re pouring a hot brine over cucumbers, or pouring hot sauce or jam into the jars, this is generally not a problem.
- Process the jars – place the jars into the filled canner and bring it to a rolling boil. Start the timer once the water has returned to a boil.
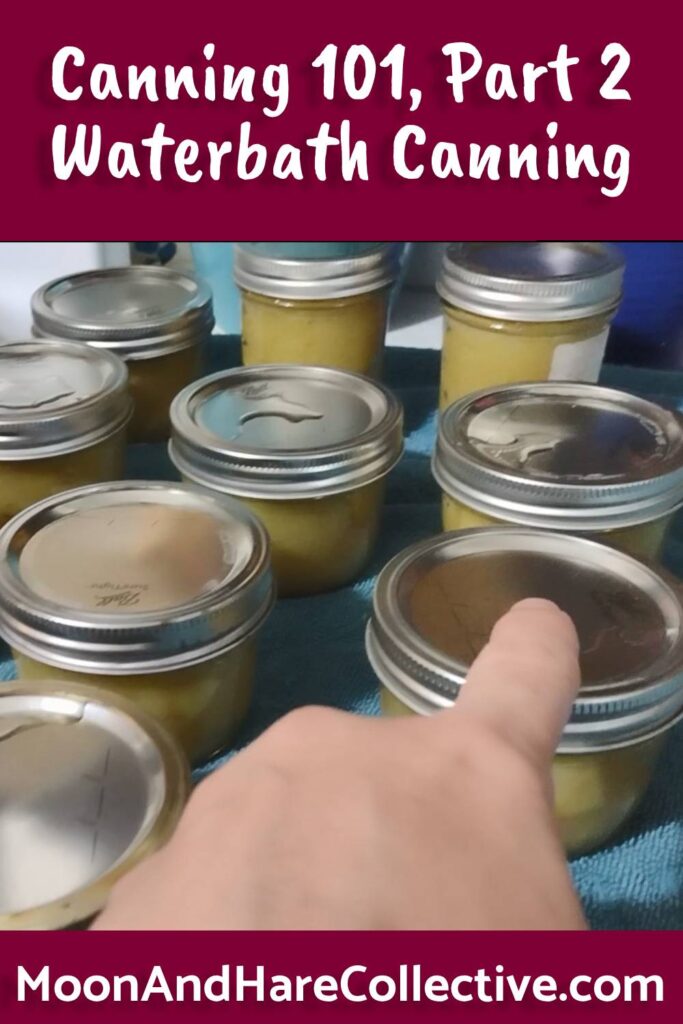
- Store the food – as you remove the jars from the canner, place them on a towel on a counter or table to cool. Don’t touch them for 12-18 hours – until they’re completely cool. The lids may make a popping noise as they seal. It’s like a little dopamine hit every time, as you know your hard work paid off!
If a jar didn’t seal, store it in the fridge and eat it within a week. If it’s a sauce or jam – something that won’t be harmed by being cooked longer, feel free to reprocess it. After they’re completely cool, remove the rings to store them.
Next I’ll be back with a tour of your pressure canner and how it all works, so I’ll hopefully relieve any of your fears about pressure canning. I’ll keep adding more videos about homesteading and homemaking, so make sure to subscribe to my youtube and my newsletter so you’ll get all the fresh posts and videos!


