I get all excited and nerdy about planning all the plants that I want for every part of my yard, so this is a really fun activity – and it’s usedfull too of course. The possibilities here are pretty endless.
Create a scale map of your property and you can draw in all the plants you want or that you already have. You can use this for planning, or for keeping track of what you already have. I’ve done the whole property here, but you could focus in on just part of your land if you prefer.
Ok, let’s get started!
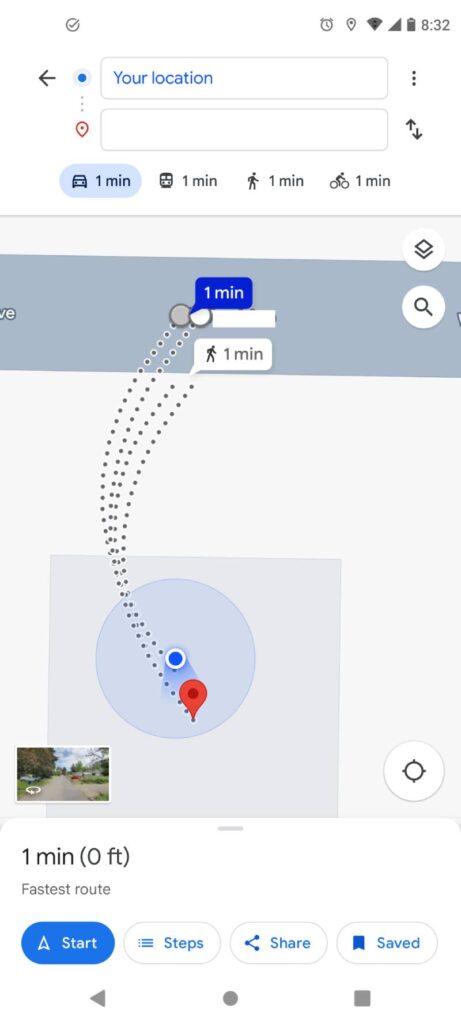
First, look up your address in Google Maps on your phone. You can actually do this in Google Earth too, and then you don’t get the little dots showing how close you are.
I am showing instructions for doing this on your phone and then moving to the computer, but you can do it completely on your computer too. Mostly the instructions will be the same, but you’ll have to figure out how to take a screenshot with your computer. You can also do it completely on your phone as well, as long as you have a way to print from your phone.
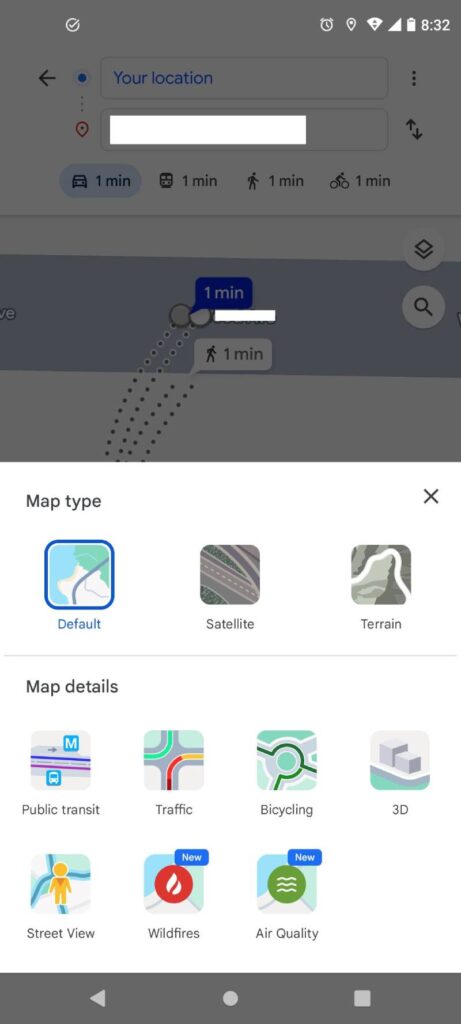
Next, do you see the little stacked squares just above the magnifying glass? Click that.
Here, you’re going choose “Satellite”. This will give you a photo of your property.
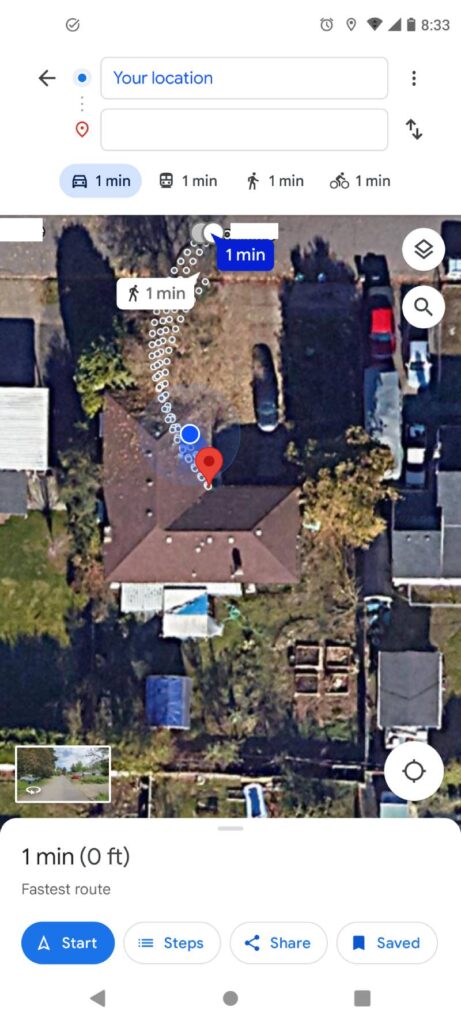
Now zoom in so your property lines fit perfectly on your screen.
Now take a screenshot. I do this by pressing the power button and the volume down button at the same time.
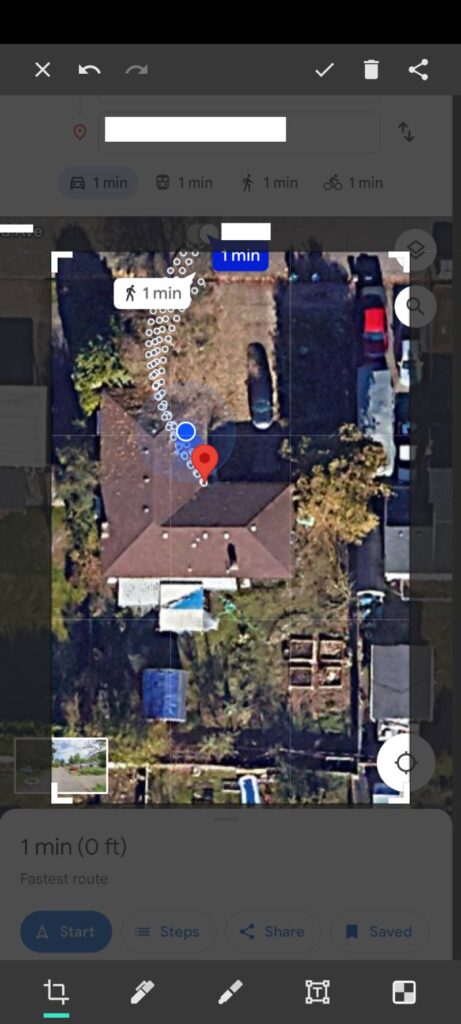
Click the little pencil to edit, if you want, and crop the image even further.
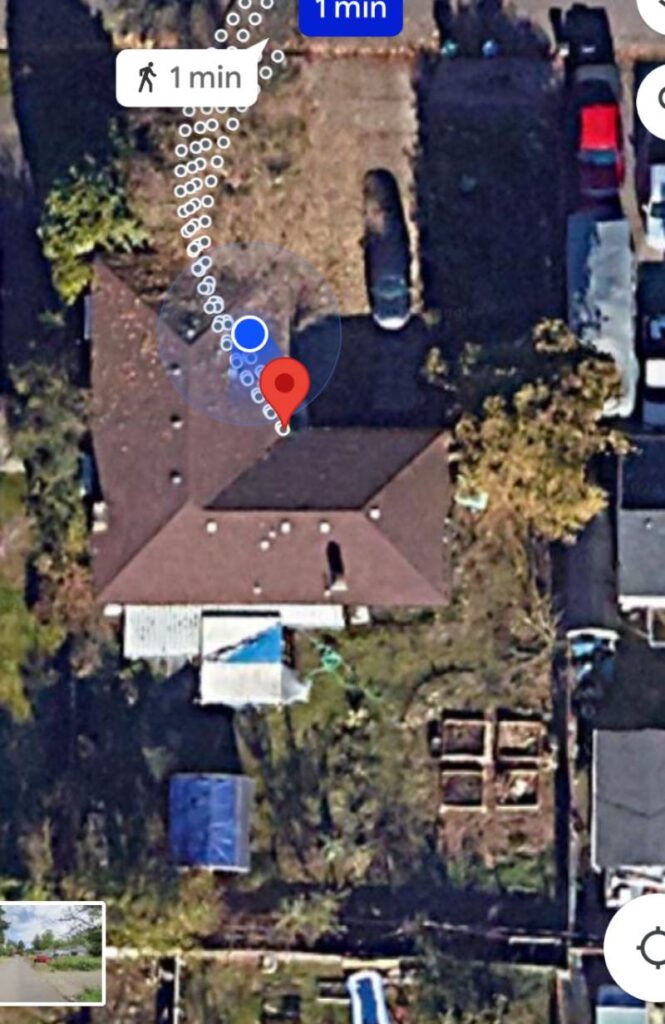
Here’s my cropped screenshot all ready to go!
Now, you want to get your image into a Google Doc. I did this part on my phone still. If you want to do it on your computer, you’ll need to find a way to get your screenshot to your computer. I found it easiest to do it on my phone for this part.
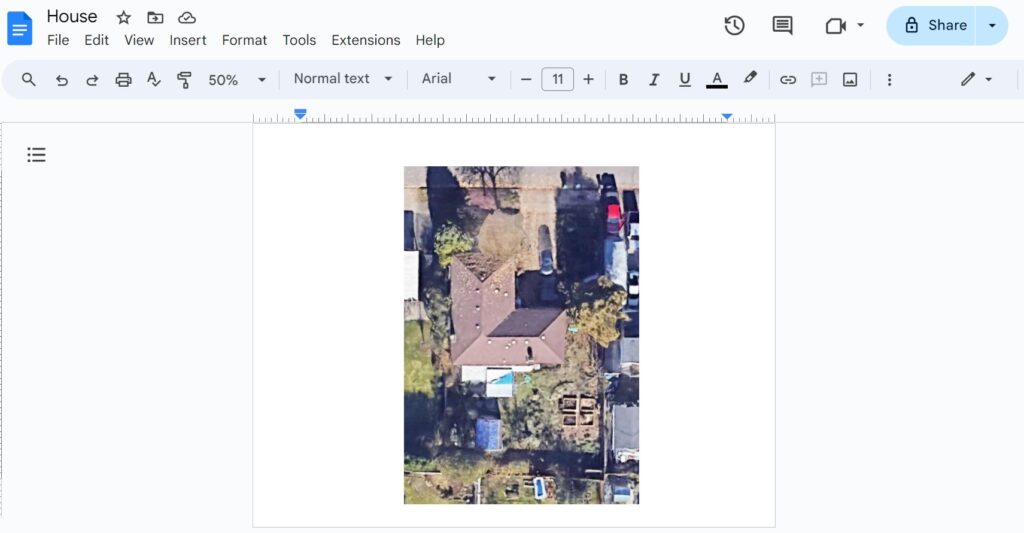
Open a Google Doc and click the pencil to edit it. Go to the 3 dots at the top right and then to Page Setup. You can choose Portrait or Landscape.
If you want to put your map into a regular 8.5 x 11 size binder, choose Portrait. If you like the mini binders (5.5 x 8.5 or A5 size), choose Landscape. I chose Landscape.
Click ok.
Now, go to the + sign at the top and click image. Find your image and add it.
That’s pretty much as easy as it gets. It should put the image right in the middle of the paper and automatically size it to the sheet of paper.
Either print it from your phone your computer. Tape it in a bright window.
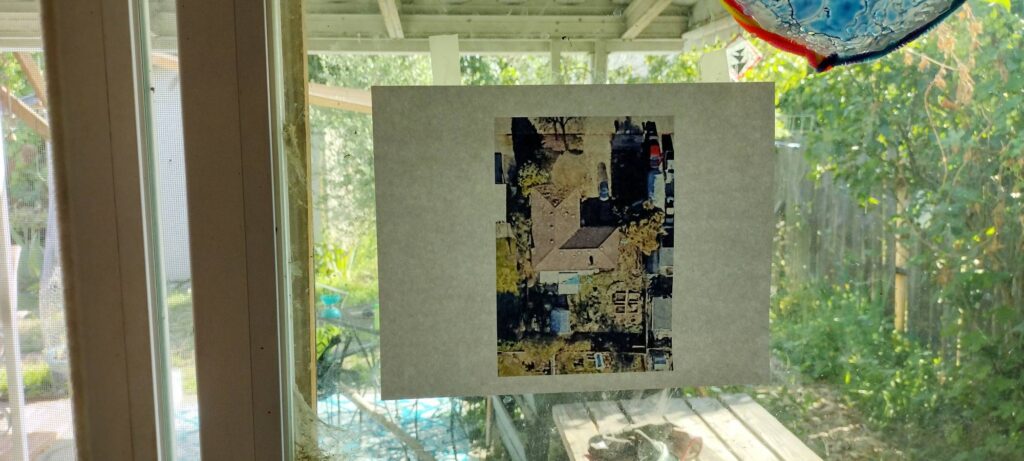
Tape another piece of paper over the top. You can use regular printer paper (which is what I did), or tracing paper, or graph paper. Whatever you want to do. Trace over the lines that you want. I traced the house, the fence lines, the driveway and sidewalks, the outline of the shed, and then all of the trees. Basically you want to trace anything that probably won’t move or change for a while.
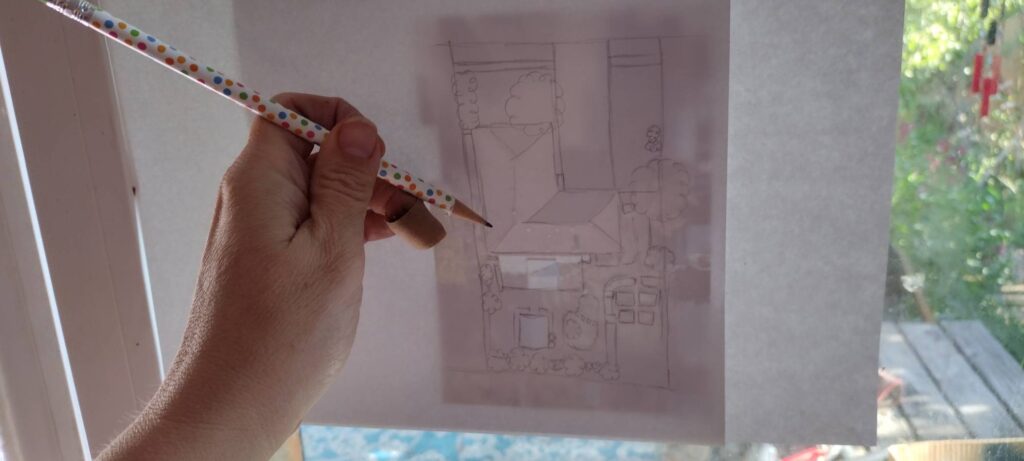
Now comes the fun part! Get out your colored pencils and a nice pen and start planning away!
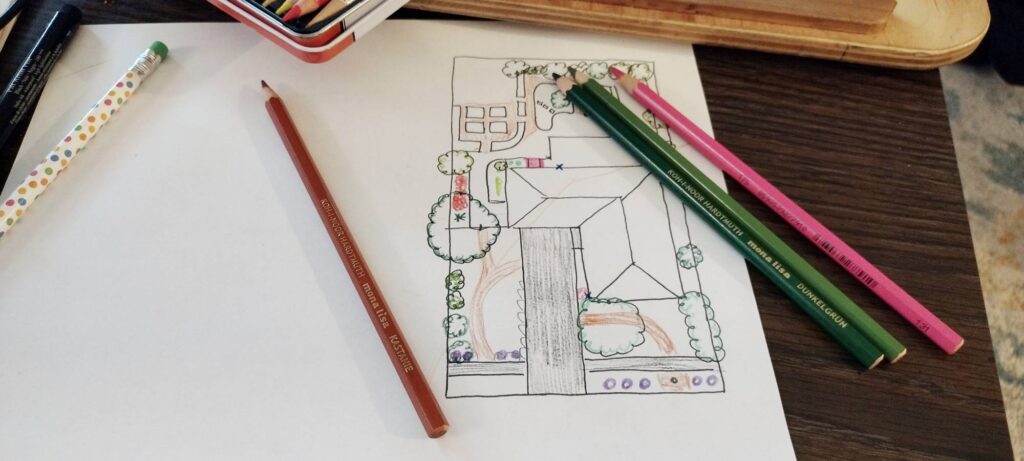
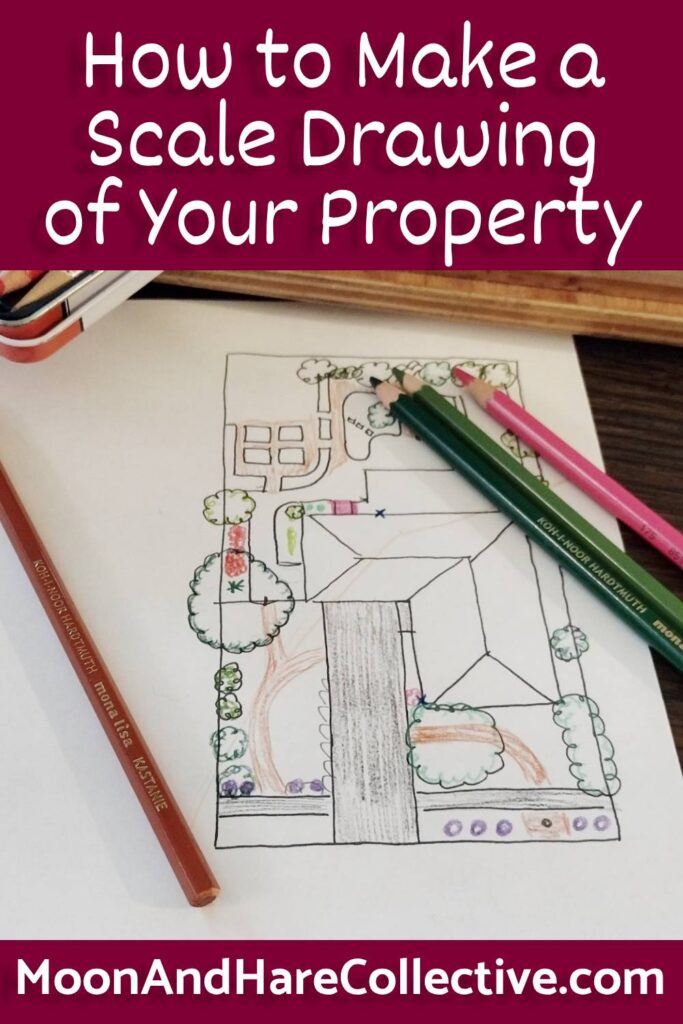
I drew the outlines of things that won’t be moving with a pen, and then I scanned it and printed out a bunch of copies.
This way I can have one copy that represents how it looks now, one that I can put all my plans and dreams onto, and one to document the outside influences like the sun and wind directions. You can mark out all your microclimates to help with planning.
You could make one section larger by cropping your screenshot even more, so you can, say, plan your raised beds.
For the A5 size image that I have, I’ll be using numbers and letters to mark where the plants are and then I’ll have those on a list on the next page in my gardening binder.
What are some plants you’re dreaming of and where you mark them on your scale map? Let me know in the comments below!



This is awesome! I’m definitely going to be doing this for my landscaping, and garden planning next year!