Pressure canning is the more intimidating of the canning processes, but it doesn’t have to be. There are lots of safety features built into your canner to make sure that everyone stays safe. I go over those features, along with lots of other tips and techniques to get started pressure canning! Give it a watch!
Don’t forget to check out part 1: the history and science of canning and part 2: waterbath canning.


TRANSCRIPT
Hi! I’m back again with part 3 of a 4 part series on canning basics. In my first video I showed how the history and science behind canning helps us understand how to be safe in canning, along with the process involved. In the second video, I showed you the basics of waterbath canning – which is one of the most accessible ways to get into canning. Today, let’s take a tour of your pressure canner and learn how it’s safe and fun to put some low acid foods in your pantry!
I know that pressure canning frightens some people because they’ve heard stories of canners exploding. Today I’ll show you how easy pressure canning is, and hopefully relieve your fears!
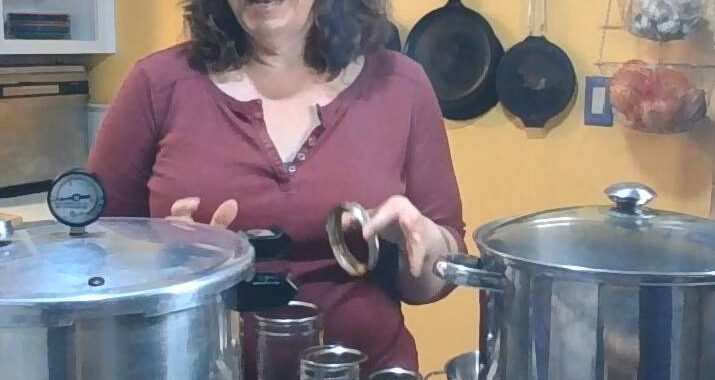
First, let me introduce myself! I’m Chrissy Bernards, the owner of Moon and Hare Collective and Urban Farm in Oregon. I am an urban agriculture and homesteading educator, a curriculum developer, and a community herbalist.
I grew up on a vegetable farm, where I learned how to can and preserve food, and eat seasonally, along with sewing and other DIY skills. I ran away from the farming lifestyle as soon as I could, but after several years, I felt the pull back to growing food and traditional homemaking. I now use permaculture and regenerative growing methods on my urban homestead, where I teach about urban agriculture, food preservation, cooking on a budget, seasonal living, and other homesteading skills as a medium to introduce people to food systems and sustainability issues.
I always love to know the science and history behind the techniques that we use to preserve food, so I understand the safety and reliability of the process. Then I know which rules are ok to bend or even to break!
Make sure you subscribe to my newsletter at the link in the description so you’ll get notified when I put out more videos with valuable homesteading and homemaking information!
Ok, let’s dig in and get started!
- Reasons to pressure can:
There are lots of great reasons to pressure can foods. Most of them are the same as Waterbath canning, so I went over them in my previous video. Here are just a few benefits!
a. First, there’s the Financial benefits: Pressure canning allows you to purchase bulk amounts of seasonal produce at lower prices which should reduce your overall food costs.
b. Then, there’s the Time saving benefits: By preparing large batches of meals in advance, pressure canning saves time on daily cooking. This is especially true with pressure canning, because you can can soups and meat!
d. Knowing ingredients in food is a huge reason that I can: when you preserve your own food, you know exactly what’s in it. This is great for dietary preferences and allergies.
f. And lastly, it’s super empowering to know that you put aside food for your family to eat through the whole year!
- Ok, so what’s happening in the pressure canner.
a. Microorganisms, such as bacteria, yeasts, and molds, naturally occur on food surfaces because of contact with soil, water, air, and even your hands. While many are harmless, some cause spoilage or illness if not properly taken care of during food preservation. In canning, it’s important to deactivate and kill these microorganisms to ensure the safety and longevity of the preserved food.
b. Pressure canning kills and deactivates these microorganisms by bringing the food to high temperatures of 240-250°F which can only be reached by increasing the pressure.
c. Botulism is the dangerous microorganism that we’re usually most concerned with. Botulism toxin, which is caused by Clostridium botulinum bacteria, is a dangerous form of foodborne illness that thrives in low-acid, oxygen-free environments exactly like sealed jars. Botulism has two states- the bacteria and the spores. The bacteria is pretty easy to kill, but the spores require a much higher temperature to be deactivated. Pressure canning deactivates these spores by raising the temperature to 240–250°F, (or 115 – 121 degrees celsius) – a level that can only be achieved under pressure. This high heat plus a processing time based on the density of the food is super important to make sure that both the bacteria and its spores are completely deactivated, preventing botulism from developing in canned foods.
d. Time and temperature are super important to ensure safety in pressure canning. Different foods require specific processing times and temperatures to ensure that heat gets all the way to the center of the jar, killing harmful microorganisms and preventing spoilage. The denser the food, the longer it needs to be processed at the correct temperature to ensure that all bacteria and spores are effectively destroyed.
- What sorts of foods should be pressure canned: Pressure canning is mainly for preserving low-acid foods, which include most vegetables, meats, poultry, seafood, and beans. These foods don’t have the natural acidity needed to prevent bacterial growth, so they must be processed at higher temperatures to ensure safety. Pressure canning raises the temperature above the boiling point, effectively killing harmful bacteria and ensuring long-term preservation.
- Vegetables (green beans, carrots, corn, potatoes)
- Meats (beef, pork, chicken, turkey)
- Poultry (chicken, duck, turkey)
- Seafood (fish, shellfish)
- Stocks and broths
- Soups (without dairy, pasta, or thickeners)
- Dry beans and legumes
- Stews and chili
- Low-acid sauces (such as tomato sauce without added acid)
- What sorts of foods cannot be pressure canned:
- Dense foods like pumpkin puree or mashed potatoes cannot be canned because they are so dense that they cannot be heated to the right temperature all the way to the center. These foods should be cubed and canned, and then you can mash them when you want to use them.
- Milk and cream based foods are not recommended to be canned because there’s not enough research done yet.
- As a side note- yes, there are creams and milks, and even pumpkin puree that are commercially canned. Remember in my first video when I said canning was invented as a commercial process before it was available to home canners? Commercial companies have more access to processes and equipment that we don’t have access to.They are able to reach even higher temperatures than we are able to at home.
- Although you can … can high acid fruits, Some that are high in acid can’t handle the higher temperatures of the pressure canner and may become unappealing colors or turn to mush.
- But grandma never killed anyone!
- There have been waterbath recipes for low acid foods since the beginning of canning. While some people have done this successfully, others have gotten really sick. Low acid canned foods actually provide an excellent medium for botulism spores to grow.
- So, let’s take green beans for example. You can… can green beans. But it takes hours and hours and hours. During which time, you have to keep the water more than 2 inches above the jars and boiling. At some point, the water will evaporate and you’ll need to add more. There’s no way to add more water without the temperature lowering and the boiling stopping, so you have to wait to start the timer again when the water comes back to a boil.
- First of all- this sounds like a huge pain, when pressure canning green beans takes only an hour including all the time getting up to pressure and coming back down. But also, remember – when you’re canning, you’re also cooking the food in the jar. Cooking green beans for that long will just turn them to mush.
- It’s so much safer and faster to just pop those bad boys into the pressure canner and bonus – you don’t have to doubt the safety of the process!
- One thing you may be concerned about with canning in general, but also with pressure canning, is how much nutrition canned foods have left in them after the canning process. Pressure canning offers significant nutritional benefits by allowing you to preserve homegrown or locally sourced foods without added preservatives or artificial ingredients. While some nutrient loss occurs during the canning process, particularly with water-soluble vitamins like vitamin C and B vitamins, the overall nutritional content of canned foods remains high. In fact, pressure canning retains most of the macronutrients, fiber, and minerals, making sure that you still get a nutritious meal months after canning. Pressure-canned foods also are often fresher and healthier than store-bought canned goods, as you control the quality and ingredients.
- There are Other benefits to pressure canning too
- Pressure canning dry beans is so much easier than other preservation methods. You can soak the beans overnight, or not. Then you can a canner full and you’ve got several months worth of beans without all the excess soaking and cooking for hours.
- Canning meat and fish is so easy. My family mostly does tuna – which is soooo much tastier than store bought canned tuna. It’s raw packed and then canned. Aside from the texture – which I will totally admit – it’s very satisfying to squish the tuna into the jar. Pop those suckers in the canner and you’re ready to make tuna salad for fast and easy lunches!
- Basic canning supplies needed:
Ok, obviously you need a canner – I’ll get to that next. Other supplies you’ll need are- canning jars, along with their lids and rings
- a jar lifter makes things a whole lot easier- I actually have two, so I can carry jars in both hands
- A wide mouth funnel for making sure food gets into the jar
- a reliable timer
- Some other tools that might come in handy are a small spatula or knife for removing air bubbles and a headspace measuring tool for until you can eyeball headspace.
- Canners available:
Ok, the canner – there are two different types of pressure canners available. You can learn about them and decide which will make you more comfortable learning how to use. I think that the dial gauge canner is much more common these days, but you can find canners at estate sales and thrift stores all the time these days.- The first, and older type is the Weighted gauge canner: A weighted gauge canner uses a weighted mechanism, also called a “jiggler” to regulate the pressure inside the canner, ensuring that it reaches the proper pressure for safe food preservation. The weight rocks or jiggles when it gets to the correct pressure. This type of canner typically has three settings—5, 10, and 15 pounds of pressure—to accommodate different altitudes and food types.
- Then, there’s the Dial gauge canner. I think this is the more common type of canner that you’ll see out there in the wild. A dial gauge pressure canner uses a dial to measure and display the internal pressure during the canning process, allowing for more accurate monitoring compared to a weighted gauge canner. The dial gauge may require regular calibration to ensure accuracy. During the pressure canning process, steam is trapped inside the canner, raising the internal temperature above boiling, which kills the bacteria, including botulism spores. The dial gauge allows you to closely track and adjust the pressure throughout the process.
- Parts of the Pressure canner:
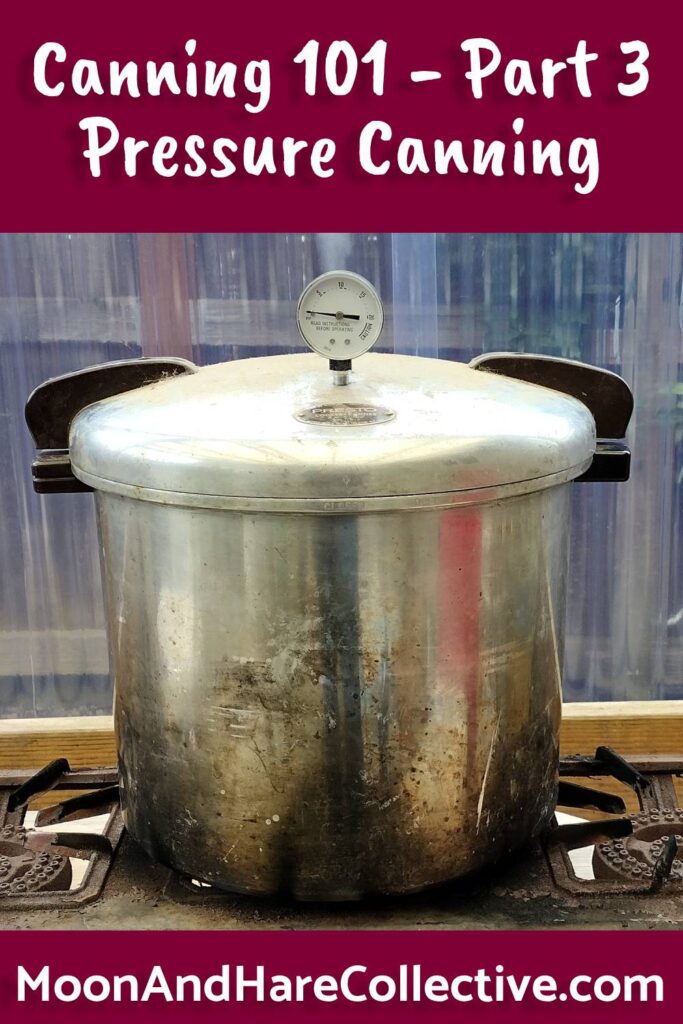
Let’s take a little tour of your pressure canner. These are both dial gauge pressure canners. This one is taller than this one- it can have two layers of pints stacked, for a total of 16 wide mouth pints at one time. This is so nice when my family gets together for a big canning day, where we do dried beans or tuna. We can the tuna on propane burners, which is why it’s all black near the bottom.
This shorter one can have stacked half pints, but it can only have a single layer of pints. So that is something you may want to keep in mind when choosing a canner- depending on how big of canning batches you want to do. When I’m canning for just my small family – a smaller canner is generally fine.
- Parts of the canner:
So, like I said, this is a dial gauge canner- First, we’ve got the canner itself, which is where all the jars will go.
- Inside the canner, you’ll find a rack of some sort, which keeps the jars from touching the direct heat on the bottom. Being directly on the heat will cause the jars to break.
- Here we’ve got the lid. Different manufacturers have different locking methods, but all lids on the pressure canner create an air tight lock.
- Inside the lid, you’ll see a rubber gasket.This is what creates the air-tight-ness in the air tight lock. Sometimes this gasket needs to be replaced or soaked in water to make sure it will form a seal.
- On the lid, there’s a vent pipe. This is the valve that releases pressure. Every pressure canner has a vent pipe – and the canner will vent steam through this vent until it reaches the right pressure.
- This is the counter-weight. Once the canner has no more oxygen left in it, the counter weight is put on the vent pipe and prevents more steam from escaping. On weighted gauge canners, there is a “jiggler” instead, which rocks in a certain pattern once it reaches the correct pressure.
- Over pressure plug. This is a little rubber plug that will vent excess pressure from the canner.
- This is the dial gauge. Once the canner starts building pressure, this is where you can keep an eye on it. Most of the things I can stay between 9 and 11 pounds of pressure. Once it reaches pressure, you turn the heat up and down to maintain it.
- Ok – just a note about safety. I think what people get scared about with pressure canning is that the canner may explode if the pressure gets too high, right? Here are the features that keep you safe. Even though the canner has an airtight lid, the overpressure plug and the vent pipe both allow excess pressure to escape. With the dial gauge planner, you can watch the pressure and turn it down if the pressure starts to get too high. There are a lot of things in place to make sure that pressure canning is safe for you to do!
I hope this guide has helped ease any concerns you may have had about pressure canning and shown you how straightforward and easy it can be. Pressure canning is a safe and easy way to preserve your harvest, making sure you and your family enjoy healthy, home-prepared meals year-round. In my next video, I’ll be answering frequently asked questions about canning, so make sure to subscribe and stay tuned! Email me any questions you may have! Hopefully, this video has inspired you to try pressure canning with confidence!


